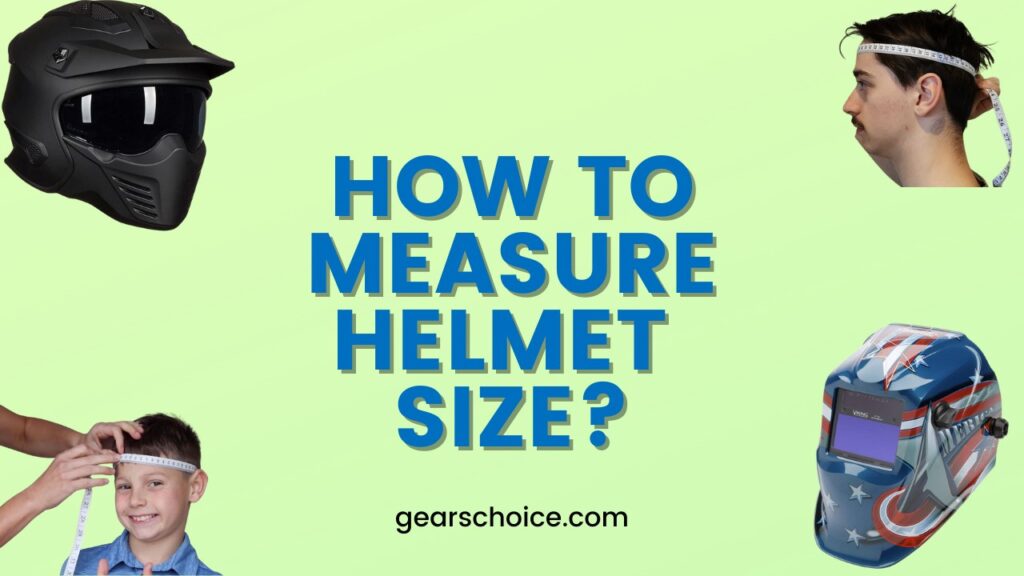
How to Measure Helmet Size? Step-by-Step Guide
Measuring a helmet size accurately and correctly is no longer a difficult job. Here, you can see the details on measuring and precisely determining the helmet size.
Loosely fitted or too tight helmets make your riding experience so much uncomfortable.
So, what to do in this situation? You should educate yourself on how to assess the helmet size. The below-mentioned guide can help you out.
Whether you are bicycling, hiking, snowboarding, riding a bike, or playing with a softball, wearing this safety gear is of utmost importance.
Helmets keep you protected from head and neck injuries and gully guarded against traumatic brain injuries.
However, an inappropriately fitted helmet brings discomfort. First of all, it is essential to measure your head circumference and then choose the helmet accordingly.

Guide to determine the helmet size
Let us look at the details that tell you how to determine and accurately assess your helmet size. Properly fitted helmets ensure 100% safety and make your riding experience comfortable.
We have divided this guide into specific steps, so go through each of them:
Phase 1: Taking the measurements of your Head’s Circumference
The first phase is to take the measurements of the circumference of your head.
This will help you determine the helmet shape. A measuring tape is needed to perform this phase.
Step 1: Determining the shape of the helmet
You need to finalize the helmet shape before measuring its size. Whether you want a helmet for riding or playing purposes, this is an essential consideration step.
In addition, helmet shapes are primarily of three basic types: long oval or intermediate oval, or you can have them in a round-oval shape.
Long oval-shaped helmets tend to be longer from front to back than from side to side.
On the other hand, intermediate oval shape helmets look slightly longer from the front-to-back side and believe to be one of the most common shapes available in this safety gear category.
Lastly, a round-oval helmet is equal from front to back and side to side.
Step 2: Use the measuring tape and take the measurements of your head
Once you have determined the helmet shape, the next step is to use a measuring tape and take the measurements of your head.
Position the measuring tape above your eyebrows, and the tape has to lay flat completely against your head.
It is better to ask your friend to take these measurements because doing this task on your own will be challenging.
Level the tape around your head and avoid holding it too loosely or tightly.
Step 3: Note down the tape measurements
The last step of phase 1 is to note down the tape measurements. Make sure that you take the measurements carefully and avoid making any blunders.
Write down the details on a piece of paper.
Phase 2: Choosing the helmet
The next phase is about choosing the helmet! Once you have noted down the measurements, go to the shop and buy the helmet according to your recorded measurements.
Step 1: Finalize the type of helmet you want to buy
Loads of helmet variety are out there in the market; choose the one that brings comfort and ease. Look for the high-quality option that withstands shocks and forces of impact.
Helmets meant for riding and biking will not be appropriate for climbing and hiking, so keep in mind this point.
Mountain bike helmets remain meant for off-road terrains. On the other hand, road helmets are comparatively lightweight and available in compact designs. BMX bike helmets remain suitable for BMX racing.
Step 2: Buying the helmet that gets fit to your head circumference
Most importantly, choose the helmet that gets perfectly fit for your head circumference. Look at the size designation that tells you the small, medium, or large size.
The size of this safety gear should correlate and remain compatible with your head circumference measurements.
Step 3: Trying different helmets and picking the right one!
Keep on trying different helmets until and unless you get the appropriate size. It should fit correctly fit on your head.
Moreover, it needs to be neither too loose nor tight. Avoid choosing those helmets that wobble and shake in either direction.
Phase 3: Thoroughly check the helmet before buying
So, the last phase is to check the helmet before buying it thoroughly. The below-mentioned details tell you how this phase proceeds:
Step 1: Checking the chin strap of your helmet
Inspect and check the chin strap of your helmet. It needs to fit and adjust snugly. In addition, the strap should not pinch your chin.
If it restricts your movement or ability to breathe, avoid buying that helmet. Low-quality models have kind of chin straps that limit the speaking and swallowing ability of the rider.
Step 2: Check the condition of the padding
Before buying the helmet, you should check the condition of its padding. If it is removable, then that is great.
Removable padding can be washed repeatedly, which is why riders prefer buying those helmets whose padding is removable.
You can even get the additional padding to make the helmet more accurately fitted on your head.
Frequently Asked Questions (FAQs)
How should helmets properly fit on your heads?
The front edges of the helmets should sit 1 to 2 finger-widths entirely above your eyebrows.
You can add or remove the padding so that the fitting comes out more perfect. In addition, you can adjust the straps to your helmet fit snugly.
How can I make my bike helmet fit better?
You can make your bike helmet fit snugly by adding liners or padding. This practice will cushion your head, and the helmet fits your head better. Add padding to the loose areas; that is all you need to do!
How tight should skate helmets be?
Skate helmets have to remain fit and adjust snugly on your head. Ensure that no spaces are there between the foam and the skateboarder’s head.
If that helmet gives a snug fit, and if it is not too tight, it means you have got the right set.
Should a bike helmet squeeze or pinch your cheeks?
Any helmet should not squeeze or pinch your cheeks. If it fits correctly, it will not make your cheeks uncomfortable.
Appropriately sized helmets, brush the padding against your cheeks, and do not pinch them. If you feel that your cheeks are being rubbed hardly, consider trying another size.
Conclusion
This is how you can measure the helmet size, and we hope that this guide, as mentioned earlier have cleared your confusion and ambiguities.
To ensure life safety, wear a helmet and make sure it fits snugly and remains appropriately fitted on your head.
If you are riding or playing without a helmet, you become more vulnerable to getting scratches on your face or head and neck injuries.
So, make it a religious practice of wearing a helmet whenever you go out on a bike or plating intense football matches.
Thus, helmets reduce the risk of injury or death. You can share with us how you measure the size of your helmet and what important points you keep in mind!

Hi, I’m James Dean. My motorbike obsession started at age seven with a 50cc bike, and I’ve been riding ever since.
From motocross in my teens to cruising and snowmobiling today, I’ve got over 15 years of experience.
As a mechanical engineer and passionate rider, I founded gearschoice.com to share my insights and help you find the best motorcycle gear.


