How to Clean a Motorcycle Helmet: The Complete Step by Step Guide
Last Updated On: July 16, 2026
A dirty helmet is more than an embarrassment on a group ride. Bug guts eat away at your finish, sweat soaks into your padding, and grime builds up inside your vents until they barely move any air at all. The good news is that this guide walks you through exactly how to wash a motorcycle helmet safely, using nothing more than a few household items and about thirty minutes of your time.
At Gears Choice, we get a lot of questions from riders who are afraid of ruining an expensive lid by cleaning it wrong. That fear is fair. Helmets are built from delicate materials, and the wrong cleaner can strip a visor coating or break down the glue holding your liner together. Follow the steps below and you will avoid every one of those mistakes.
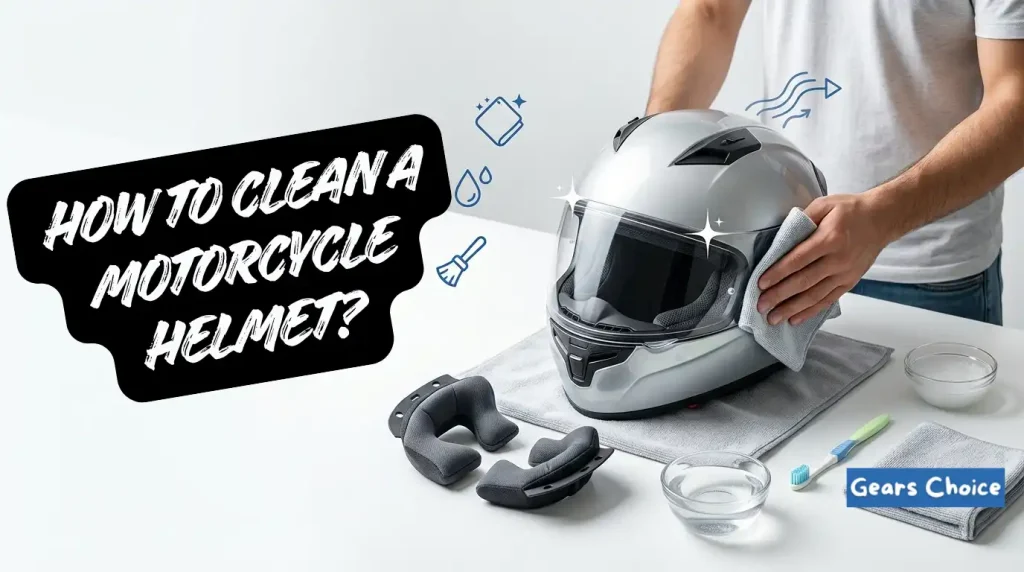
Why Cleaning Your Helmet Actually Matters
Your helmet is the single most important piece of protective gear you own. According to the National Highway Traffic Safety Administration, a properly certified helmet is the best defense you have in a crash, but that protection depends on the shell, liner, and straps staying in good condition. Dirt and cracked padding will not cause a helmet to fail outright, but neglect speeds up the wear of foam and fabric, and it hides small cracks or scuffs you would otherwise notice during a quick inspection.
There is also a simple comfort factor. A helmet packed with sweat and hair oil starts to smell within a few rides, and that smell only gets worse in warm weather. Regular cleaning keeps the padding fresh, keeps the vents flowing, and keeps your visor clear enough to actually see through on a rainy commute.
What You Will Need
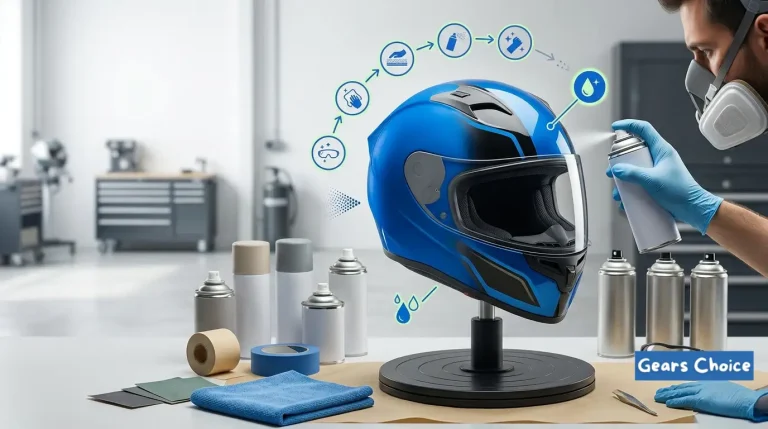
You do not need a garage full of specialty products for this job. Gather these items before you start so you are not hunting for a towel halfway through:
- Warm water (not hot)
- A mild, unscented shampoo such as baby shampoo
- Two or three clean microfiber towels
- A soft bristled toothbrush (an old one works fine)
- A small bowl or basin
- Compressed air in a can, or an air compressor if you have one
- A soft, dry cloth for the visor
Skip anything labeled as a glass cleaner, all purpose cleaner, or dish soap. Those products contain ammonia or degreasers that can dull a helmet’s paint and eat through the anti fog coating on modern visors.
Step 1: Set Up a Clean Work Area
Pick a table or workbench with enough room to lay out the shell, liner, cheek pads, and visor separately. A towel underneath keeps water off your work surface and gives you a soft spot to set the shell down without scratching it.
Step 2: Remove Electronics and Accessories
Before any water touches your helmet, pull out anything that is not part of the original build. That includes Bluetooth communicators, speakers, microphones, and their mounting brackets. If you ride a dual sport or adventure helmet with a removable peak, take that off too. It is much easier to clean flat pieces separately than to work around them while they are still attached.
Step 3: Take Out the Interior Liner and Cheek Pads
Most modern helmets use snaps, hook and loop tabs, or small plastic clips to hold the liner and cheek pads in place. Give each piece a few gentle tugs at the attachment points rather than pulling from the middle of the fabric. If your particular model has a liner that will not come out, do not force it. Skip ahead to the alternate cleaning method described in the FAQ section below.
Take a mental note, or a quick phone photo, of how everything sits before you remove it. Reassembly goes a lot faster when you remember which side faced up.
Step 4: How to Wash Motorcycle Helmet Pads and Liner
This is usually the part of the helmet that needs the most attention, since it absorbs sweat and hair oil every time you ride. Fill your bowl with warm water and add a small squeeze of mild shampoo. Submerge the liner and cheek pads, then gently massage each piece with your fingers to work the soap through the foam and fabric.
Keep the water temperature moderate. Dainese’s own care guide for cleaning and sanitizing motorcycle helmets recommends staying at or below 35 degrees Celsius, which is roughly 95 degrees Fahrenheit, so you do not damage the foam backing or loosen the glue that holds the fabric together.
Once the padding looks clean, rinse it under running water until no more suds appear, then squeeze out the excess water gently. Do not wring or twist the foam, since that can crack the internal padding. Set everything on a dry towel and let it air dry completely before moving on. For a closer look at cleaning the padding that stays inside the shell, our guide on how to clean helmet inside padding covers a few extra tricks for hard to reach spots. You can find it here: how to clean helmet inside.
Step 5: Prep and Clean the Exterior Shell
Soak a microfiber towel in warm water and lay it directly over the outer shell for a few minutes. This softens dried bugs and caked on road grime so you are not scrubbing hard enough to scratch the paint.
Once the dirt has loosened, use a second clean, damp microfiber cloth to wipe the shell in gentle circular motions. If you run into a stubborn patch, add a small amount of mild shampoo to the cloth rather than reaching for a stronger cleaner. RevZilla’s own breakdown of how to clean a motorcycle helmet points out that warm water alone handles the vast majority of everyday grime, and that is genuinely true for most riders.
Use the toothbrush for tight spots around vent openings, the chin bar, and the base of the shell where dirt tends to collect.
Step 6: Clean the Visor and Any Pinlock Insert
The visor deserves the gentlest treatment of any part on your helmet. It is coated to resist scratches and fog, and both coatings are easy to damage with the wrong cloth or cleaner.
Remove the visor from the shell if your helmet allows it, along with the Pinlock insert if you use one. Rinse the outside surface with plain water first to knock off loose grit, since wiping a dry, dirty visor is the fastest way to put fine scratches in it. Follow up with a soft cloth dampened in water and a touch of mild shampoo, then dry with a separate clean cloth. Arai’s official care and cleaning guide warns that products like brake fluid, degreaser, and even gasoline fumes can weaken a polycarbonate shield, sometimes without any visible sign until the damage is already done. Stick to water and mild soap only.
If your Pinlock insert feels dirty, wipe it with a very soft, dry cloth. These inserts are designed to absorb moisture, so soaking them defeats their purpose and can leave streaks. For a full walkthrough dedicated just to this part of the process, see our guide on how to clean a motorcycle helmet visor. Keeping the visor spotless also plays a role in preventing fog buildup on cold rides, which we cover in more detail in our article on how to stop helmet visor fogging.
Step 7: Clear Out the Vents
Dirt and small insects love to hide deep inside vent channels where a cloth cannot reach. A short burst of compressed air clears these out in seconds. If you use a canned air product, hold it upright and keep the nozzle a few inches away from the shell, since spraying at an angle can push liquid propellant into the foam liner and damage it over time.
Step 8: Let Everything Dry Completely
Set the shell, liner, cheek pads, and visor in a well ventilated spot away from direct sunlight. Avoid hair dryers, space heaters, or any other direct heat source. High heat can warp a visor, degrade foam padding, and in some cases affect the glue that holds interior components together.
Give everything several hours, or ideally overnight, before you put the helmet back together. Rushing this step is the most common mistake riders make. A helmet that goes back together while still damp is the perfect environment for mold and lingering odor.
Step 9: Reassemble Your Helmet
Once every piece is completely dry, snap the liner and cheek pads back into place using the photo or memory from step three as your guide. Reattach the visor, then reinstall any Bluetooth or communication hardware you removed earlier. Give the whole helmet a once over, checking that the straps move freely and the visor opens and closes smoothly, before your next ride.
If you own more than one style of helmet, keep in mind that modular and dual sport designs sometimes have extra hinges or seals that need a quick wipe down too. Our overview of the different types of motorcycle helmets breaks down which designs have these extra components.
How Often Should You Clean a Motorcycle Helmet
A quick wipe down of the exterior after every ride keeps bugs and road grime from hardening onto the shell. A full clean, including the liner and cheek pads, is worth doing about once a month during regular riding season, or more often if you ride in hot weather and sweat heavily. Riders who commute daily in summer often find every two weeks works better for keeping odor under control.
What to Avoid When Cleaning a Motorcycle Helmet
- Do not use dish soap, window cleaner, or any ammonia based product on the shell or visor.
- Do not put the outer shell in a washing machine or dishwasher.
- Do not use a hair dryer or any direct heat source to speed up drying.
- Do not spray canned air directly against the foam liner at close range.
- Do not scrub the visor with a dry cloth, since trapped grit can scratch the coating.
When to Replace Instead of Clean
Cleaning extends the life of your helmet, but it does not reset the clock on its safety. The Snell Memorial Foundation recommends replacing a helmet after any significant impact, and as a general rule every five years even without a crash, since the materials inside the liner slowly break down with heat, sweat, and UV exposure.
If your helmet feels loose after repeated washing, or the padding has become thin and compressed, it may be time to check your fit and consider a replacement rather than another cleaning session. Our guide on how should a motorcycle helmet fit can help you figure out if your current lid is still doing its job properly.
Frequently Asked Questions
How to clean motorcycle helmet padding that cannot be removed?
If your liner is glued in or built into the shell, skip the soaking step. Instead, dip a clean cloth in warm water with a small amount of mild shampoo, wring it out well, and wipe down the padding by hand. Follow up with a second cloth dampened in plain water to rinse away any soap residue, then let it air dry fully before wearing the helmet again.
Can I put my helmet liner in the washing machine?
Some manufacturers allow this on a delicate, cold water cycle inside a mesh laundry bag, but many do not recommend it because the agitation can distort the foam shape. Check your owner’s manual first. When in doubt, hand washing is the safer choice.
What removes helmet odor for good?
Odor almost always comes from bacteria living in sweat soaked padding, so a thorough wash with mild shampoo handles most of it. For helmets that still smell afterward, a dedicated enzymatic helmet cleaner left to sit on the padding for ten to thirty minutes before rinsing can break down the bacteria that plain soap misses.
Is it safe to use baby wipes on my helmet?
Occasional use on the exterior shell is generally fine for a quick touch up, but avoid using them on the visor, since some contain alcohol or fragrance additives that can cloud the coating over repeated use.
How long should I wait before wearing my helmet after cleaning?
Wait until every piece is completely dry to the touch, including the foam underneath the fabric on your cheek pads. This usually takes several hours in a well ventilated room, or overnight if humidity is high. Cleaning a motorcycle helmet is not complicated once you know the right order to do things in and which products to leave in the cabinet. Stick to warm water, mild soap, and a little patience, and your helmet will stay comfortable, fresh, and ready for your next ride.

Hi, I’m James Dean. My motorbike obsession started at age seven with a 50cc bike, and I’ve been riding ever since. From motocross in my teens to cruising and snowmobiling today, I’ve got over 15 years of experience. As a mechanical engineer and passionate rider, I founded gearschoice.com to share my insights and help you find the best motorcycle gear.