How To Clean Helmet Inside: Complete Guide To A Fresh, Hygienic Fit
Last Updated On: July 27, 2026
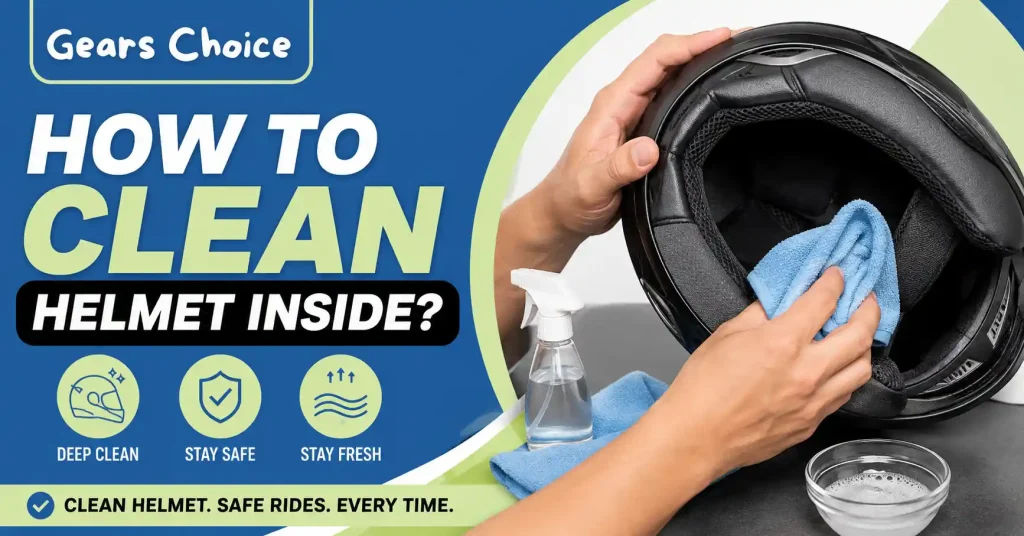
Nobody talks about it much, but the inside of your helmet works harder than almost any other piece of your riding gear. It sits against your skin for hours at a time, soaking up sweat, oil, and heat, and after a few months that buildup turns into odor, discoloration, and a liner that just feels gross to put on. If you have ever searched for how to clean inside of motorcycle helmet and gotten a dozen conflicting answers, this guide pulls it all together in one place, with the safety details most articles skip.
We will walk through the full process step by step: what to gather, what never to do to the foam, how to handle helmets with removable liners and helmets without them, and how the process changes slightly for bike helmets and football helmets. By the end you will know exactly how often to do this and how to keep the inside of your helmet smelling like nothing at all, which is exactly how it should smell.
Why Cleaning Your Helmet Interior Matters
Every ride adds a small amount of sweat, skin oil, and dust to your liner. On its own that is harmless. Left alone for weeks, it becomes a breeding ground for bacteria and fungus, which is where the smell comes from. It can also cause skin irritation on your forehead and cheeks, especially in warm weather when you are sweating more.
There is a safety angle too. A liner that has flattened or lost its shape from grime and repeated wear no longer holds your head as snugly, so a quick interior clean is also a chance to check that the padding is still doing its job.
What You Will Need
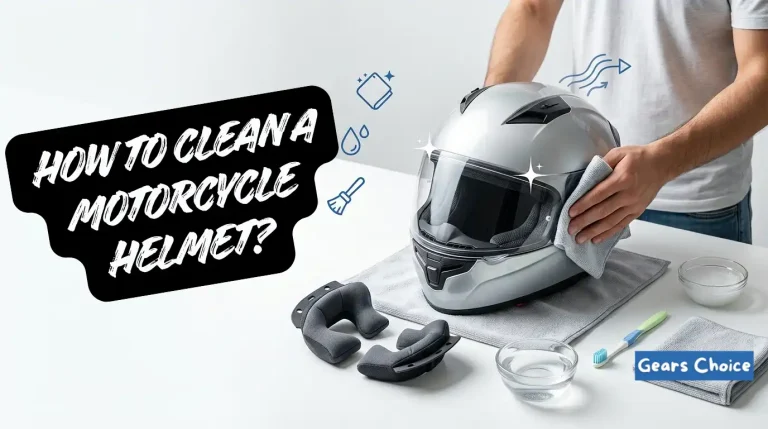
Before you start, gather everything so you are not hunting for supplies halfway through:
- A mild soap or dedicated helmet cleaner (avoid dish soap with bleach or strong degreasers)
- A soft microfiber cloth or sponge
- A soft bristle brush (an old toothbrush works well for vents and seams)
- Lukewarm water, never hot
- A clean towel for drying
- Optional: an antibacterial spray made for helmet interiors, and a bit of isopropyl alcohol for the vents
Cardo Systems, a well known name in motorcycle communication gear, put together a helpful rundown of the full cleaning kit riders typically use, and it is worth a look if you want to compare notes on what to keep in your garage.
Before You Start: A Warning About The Foam Liner
This is the part most cleaning guides leave out, and it matters more than any single step. The comfort padding sits on top of a layer of expanded polystyrene foam, usually called EPS, and that foam is the part of your helmet that actually absorbs impact energy in a crash. EPS foam is not designed to get wet. If you learn how to clean helmet inside foam the wrong way, by soaking it or scrubbing it hard, you can compress or weaken it without any visible sign of damage.
The safe rule is simple: dampen, do not soak. Use a barely damp cloth on any part of the helmet that touches the EPS directly, and never submerge the shell itself in water. Dainese covers this exact point in their guide on cleaning and sanitizing motorcycle helmets, including a useful note that removable liners can usually go in the washing machine on a cold cycle up to about 35 degrees Celsius, as long as the foam itself never touches the water directly.
How To Clean Helmet Inside With A Removable Liner
Most modern full face and modular helmets, including the ones covered in our guide to modular helmet designs, use a removable liner and cheek pads. If yours does, this is the most thorough method.
- Step 1: Remove the liner and cheek pads. Check your owner’s manual for the release method. Most use small clips, snaps, or a simple pull tab. Take a photo before removing anything if you are worried about reassembly.
- Step 2: Shake out loose debris. Turn the pieces over and give them a light shake outside to remove hair, dust, and dried skin flakes before they turn to mud in step three.
- Step 3: Hand wash with mild soap. Fill a sink or basin with lukewarm water and a small amount of mild soap. Submerge the padding (not the outer shell) and gently work the soap through the fabric with your fingers for a minute or two.
- Step 4: Rinse thoroughly. Rinse under clean, cool water until no soap residue remains. Leftover soap can irritate skin later.
- Step 5: Squeeze out excess water and air dry. Press the padding between two towels to remove water, then lay it flat in a well ventilated spot away from direct sun or heaters. Give it a full day if possible; damp padding stored inside a helmet is exactly how mold takes hold.
- Step 6: Wipe the shell interior and reassemble. While the liner dries, use a barely damp cloth to wipe the inside of the shell where the padding normally sits. Once everything is completely dry, snap the liner and cheek pads back into place.
How To Clean Helmet Inside Without Removing The Liner
Plenty of budget and vintage helmets, along with some sport and racing lids, use glued in, non removable liners. If that describes yours, here is the safest approach without taking anything apart:
- Dampen a microfiber cloth with lukewarm water and a small amount of mild soap.
- Wipe the padding in gentle circular motions, focusing on the forehead and cheek areas where oil builds up fastest.
- Use a second cloth dampened with plain water to wipe away soap residue.
- Prop the helmet upside down, or on a stand, so air can circulate through the opening, and let it dry fully before wearing it again.
If the smell is stubborn and the liner will not come out, a light mist of an antibacterial helmet spray can help between deeper cleans, applied sparingly and allowed to dry completely.
Cleaning The Inner Padding And Cheek Pads
The cheek pads deserve their own attention since they press directly against your face and absorb the most oil. When learning how to clean helmet inner padding specifically, treat the foam core the same way you treat the EPS: gently.
The fabric cover can handle a normal hand wash, but the thin foam core inside each cheek pad should never be wrung out hard or twisted, since that can permanently deform its shape and change how the helmet fits.
If your cheek pads have a fabric that has started to peel or the foam has flattened noticeably compared to a new pad, it is often more effective to order replacement pads than to keep cleaning ones that have lost their cushioning.
Deodorizing And Removing Odor
If soap and water alone are not cutting through the smell, it usually means bacteria has built up in the fabric itself, not just on the surface. Rudy Project, a cycling and triathlon gear brand, recommends a simple trick in their piece on cleaning a bike helmet: soak removable foam pads in a mix of one part white vinegar to ten parts water for a couple of minutes, then rinse and air dry as usual.
The mild acidity breaks down odor causing bacteria without damaging the foam the way harsher chemicals can. For anyone who just wants a quick fix between full washes, a wipe with a helmet specific antibacterial spray after every few rides will keep buildup from reaching the point where deep cleaning is needed at all.
Cleaning The Vents
Ventilation channels get overlooked because they are hard to see into, but dust, hair, and dead bugs collect there just like anywhere else. 24MX has a solid walkthrough on motorcycle helmet maintenance that covers the vent cleaning process well.
A soft bristle brush or a cotton swab dipped lightly in isopropyl alcohol works for the plastic vent covers and the small channels underneath them. Avoid pushing water directly into the vents, since it can seep down into the foam.
Special Notes For Bike Helmets And Football Helmets
The core idea, mild soap, gentle handling, and full drying, stays the same across helmet types, but a few details change depending on what you are riding or playing.
How To Clean Bike Helmet Inside
Bicycle helmets almost always use thin foam pads that clip onto the shell rather than a full fabric liner. The process is close to what we covered above: pop out the pads, hand wash them in mild soapy water, rinse, and let them air dry completely before clipping them back in. Because cycling helmets tend to be lighter and thinner, they are more prone to warping in high heat, so never leave one drying on a dashboard or near a heater.
How To Clean Football Helmet Inside
Football helmets use a different padding system entirely, often air or gel filled pods rather than foam, which changes the cleaning approach quite a bit. If that is what brought you here, our dedicated guide on how to clean a football helmet walks through the padding system in detail so you do not damage the inflatable liners while cleaning them.
Drying And Reassembling
Patience here matters more than people expect. A liner that feels dry to the touch on the surface can still be damp underneath, and reassembling a helmet too early traps that moisture, which leads to mildew and a smell that is much harder to remove than the original problem. Give everything at least twelve hours in a dry, shaded spot with good airflow, longer in humid climates.
This is also a good moment to check your visor while everything else dries. A clean shell paired with a hazy or streaky visor still looks and performs poorly, and our guide on cleaning a motorcycle helmet visor covers the safe way to do that without scratching it. If you tend to get fogging on the inside of the visor during rides, it is worth reading through our tips on stopping visor fog while you have the helmet apart anyway.
How Often Should You Clean It
For most riders, a full interior clean every two to four weeks keeps things fresh, with more frequent quick wipes during hot months or heavy riding seasons. If you commute daily or ride in humid conditions, lean toward the two week mark.
Bikester Global’s guide on cleaning motorcycle helmets suggests building it into your regular gear maintenance routine rather than waiting until the smell becomes obvious, which is good advice; by the time you notice the odor, bacteria has usually had weeks to build up.
Final Thoughts
Cleaning the inside of a helmet is not complicated, but doing it the right way protects both your comfort and the safety gear you are relying on every time you ride. Keep the EPS foam dry, wash the removable parts gently, and give everything enough time to dry before you put it back together.
A little routine maintenance goes a long way toward making your helmet something you actually enjoy putting on. For more helmet care guides, product picks, and buying advice, visit Gears Choice.
Frequently Asked Questions
Can I put my helmet liner in the washing machine?
If the liner is fully removable and your manufacturer’s manual allows it, a cold, gentle cycle without spinning is usually fine. Never wash the outer shell or anything containing EPS foam this way.
Will cleaning the inside affect my helmet’s safety rating?
Not if you avoid soaking the EPS foam and skip harsh solvents. The certification is tied to the foam’s structure, which mild soap and water will not affect.
How do I know if my helmet’s inner padding is non removable?
Check the edges of the padding near the chin straps and vents. If you cannot find any clips, snaps, or Velcro tabs, it is likely glued in place, and you should follow the no removal method above.
What if the smell will not go away even after cleaning?
At that point the foam itself may have absorbed bacteria too deeply to fully clean. Replacement cheek pads and liners are inexpensive compared to living with a helmet that smells bad every ride.

Hi, I’m James Dean. My motorbike obsession started at age seven with a 50cc bike, and I’ve been riding ever since. From motocross in my teens to cruising and snowmobiling today, I’ve got over 15 years of experience. As a mechanical engineer and passionate rider, I founded gearschoice.com to share my insights and help you find the best motorcycle gear.